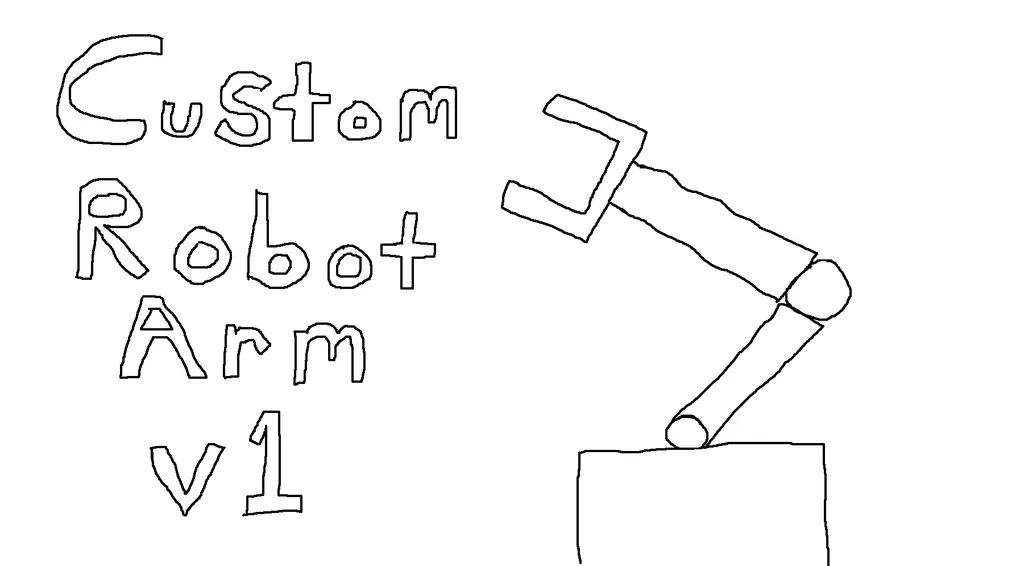
Custom Robot Arm v1
It’s been a while since I last posted here. During that time I’ve been getting back into robotics.
In high school I competed in VEX Robotics, and my junior and senior years were almost entirely spent working on it. At the time, my understanding of robotics was simple: build a better robot than your opponents. Autonomous operation was part of the competition, but it was small enough that we often treated it as an afterthought.
Since then I’ve realized something important: building the robot is often the easy part. Getting it to move accurately and consistently is much harder.
I decided the best way to understand that challenge was to build one myself.
Designing the Arm
I began the project by designing a 5-DOF robot arm in Fusion 360 and printing the parts on my 3D printer.
The design went through a lot of iterations. My printer ran almost nonstop for a while, and I ended up with a growing pile of prototypes scattered across my desk.
In the end, I was pretty happy with the result. For the gripper, I reused one from a cheap laser-cut robot arm kit I already owned.

The process alone made the project worthwhile. My CAD skills improved a lot while designing the parts and figuring out how everything would fit together.
Learning About Power
The mechanical design wasn’t the only thing I learned from this project. I also learned quite a bit about how to properly power motors.
At first I tried powering a servo directly from the 5V pin on the Arduino, which isn’t designed to supply the current that servos can draw. MG996R servos can draw close to an amp at stall, which adds up quickly when several are running.
After looking at the total power requirements for all of the servos, it became clear that I didn’t have a power supply capable of running the system reliably. I ended up buying a bench power supply, which turned out to be the most expensive component in the build.
I also discovered that breadboards aren’t designed to handle high current, so I replaced them with inexpensive screw terminals.
The Hardware
The arm uses six servos in total and is controlled by an Arduino Uno R3.
Four MG996R servos handle the larger joints:
- Hip
- Shoulder
- Elbow
- Wrist pitch
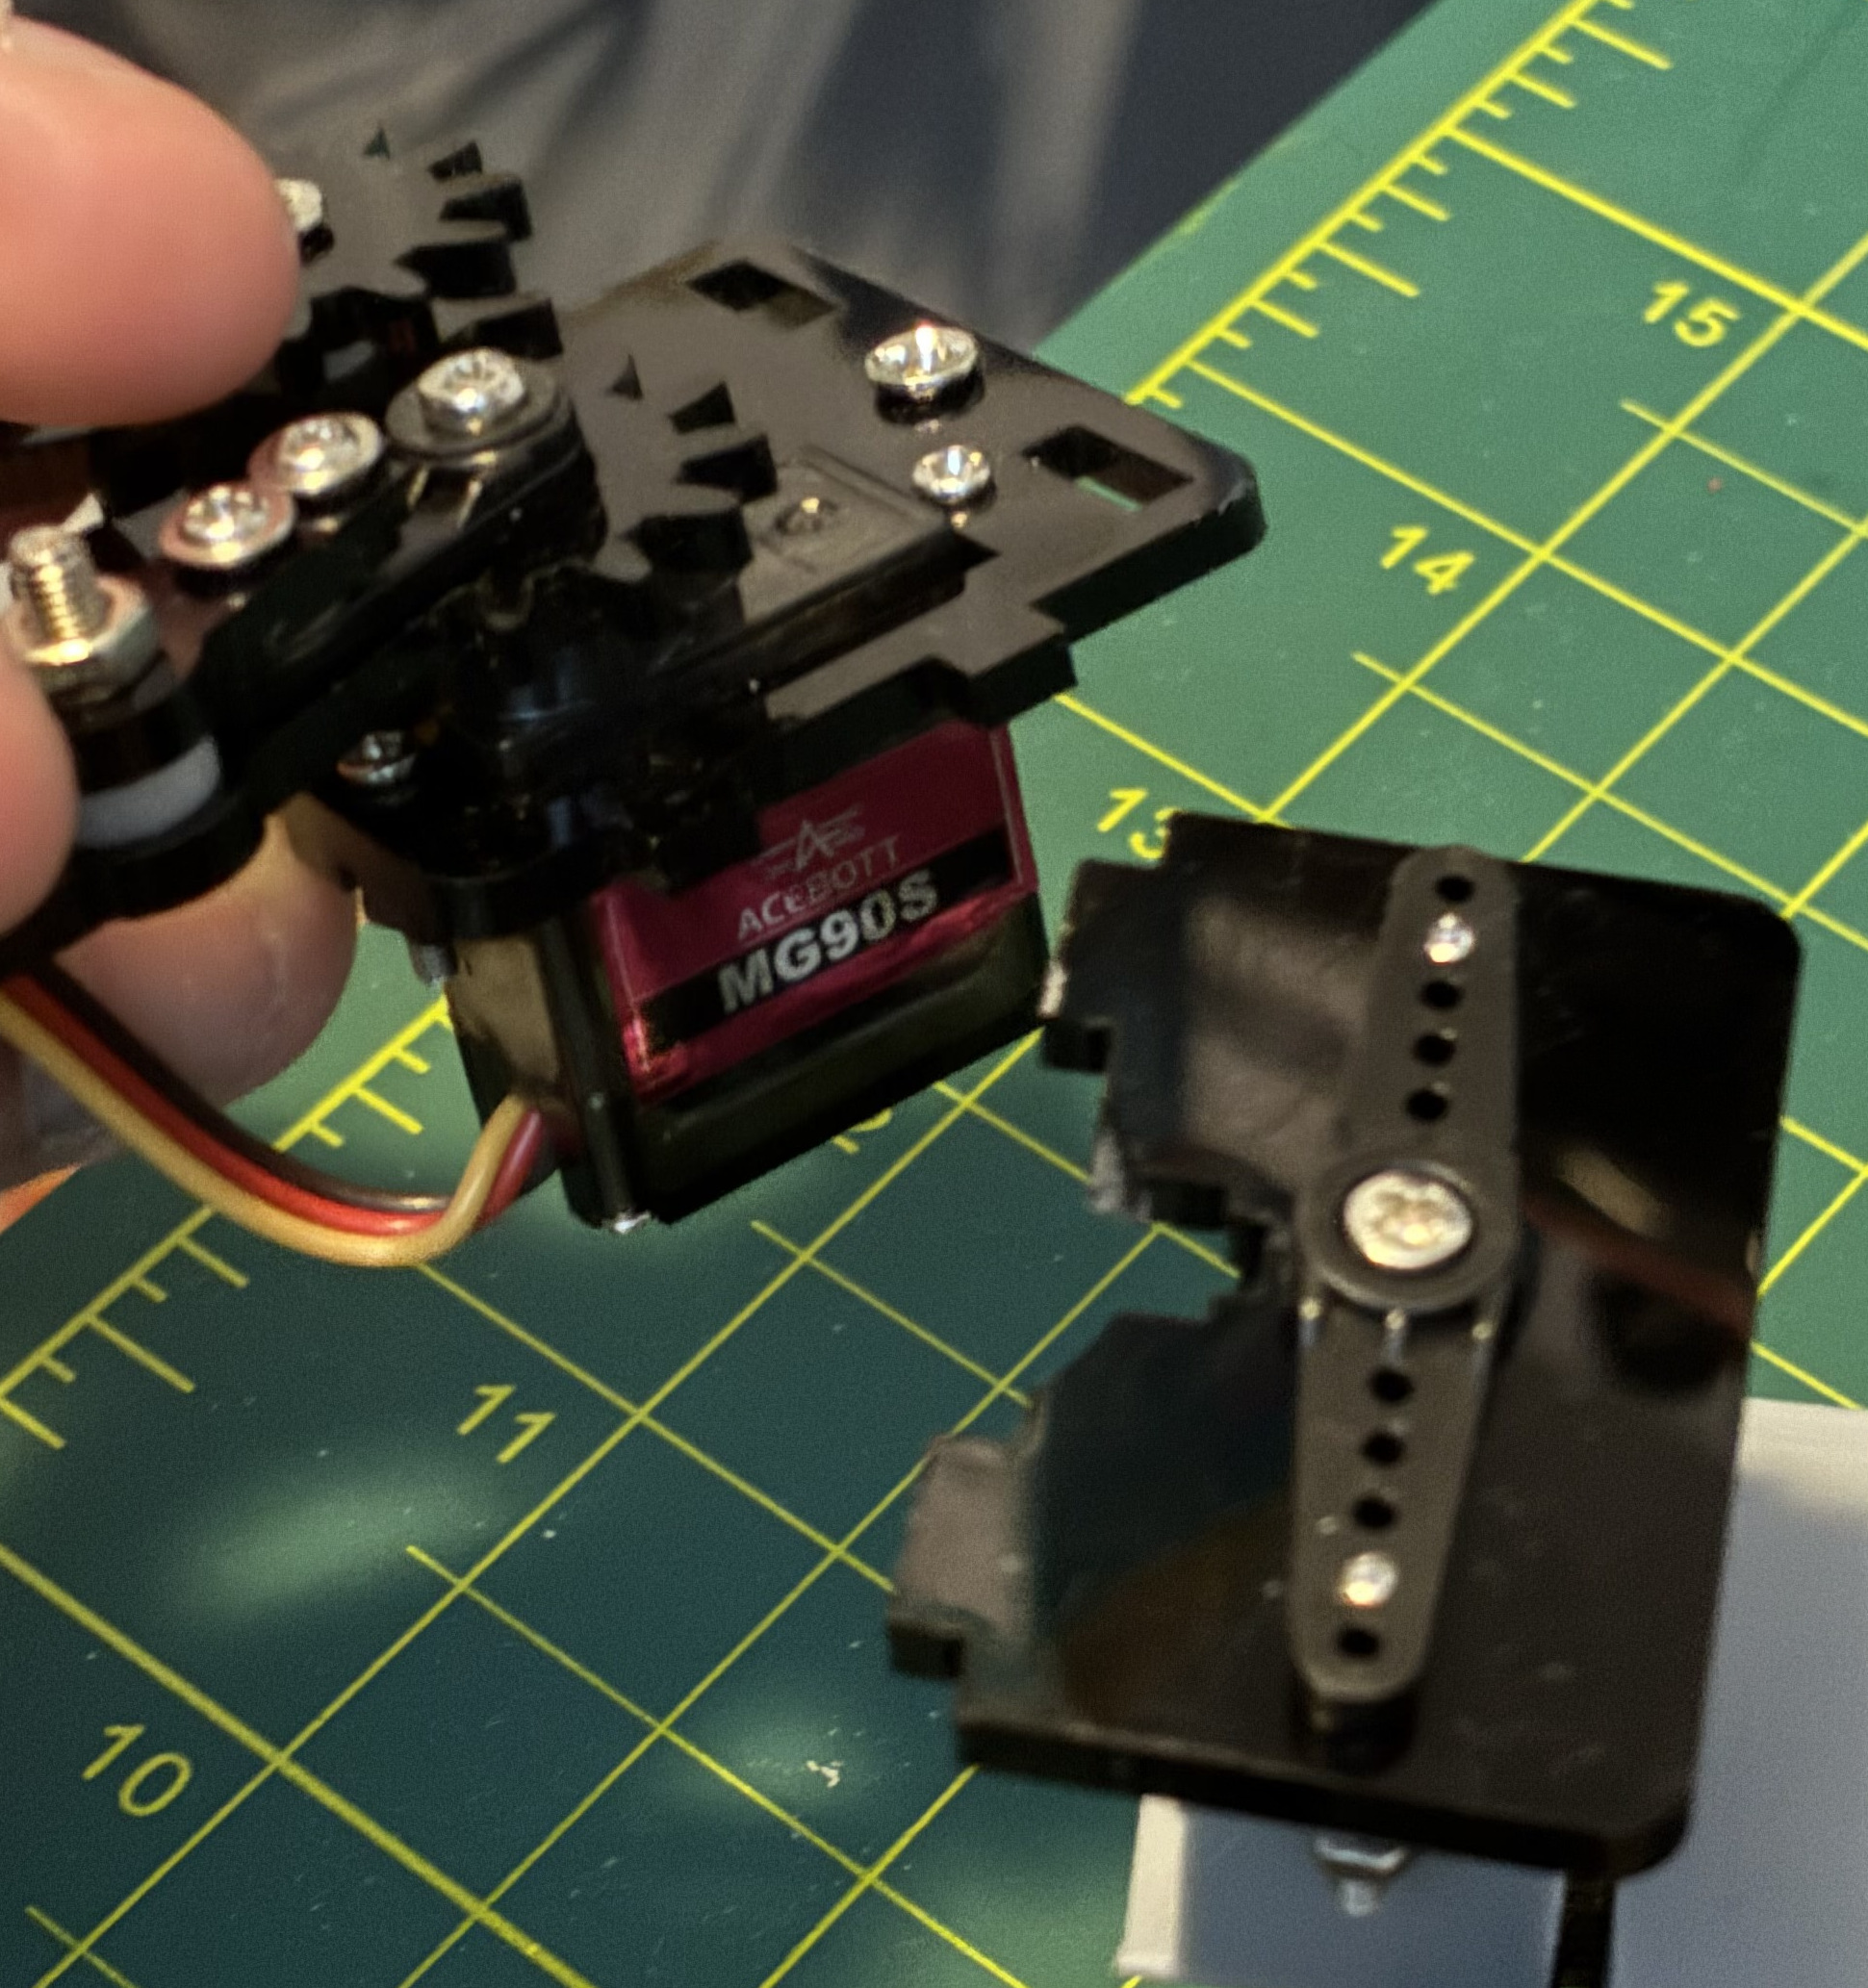
Two smaller MG90S servos handle:
- Wrist rotation
- The gripper
I chose these servos mostly because they were inexpensive and widely available. Once everything was assembled, it was time to power it on.
Here’s when I first turned it on:
The Hard Part: Kinematics
With the hardware working, I moved on to the software side.
The next goal was to derive the forward and inverse kinematics for the arm so that I could control the position of the end effector. In other words, I needed a way to convert a desired position in space into the angles each joint should move to.
This is where the design started to show its flaws.
What seemed straightforward at first quickly became more complicated. I spent a couple of weeks working through the math and testing different control approaches.
During one test I sent a command for a quick movement, and the arm jerked off the edge of my desk and hit the floor, breaking the gripper.
Pivoting to the Next Thing
That moment was pretty discouraging. Around the same time, Clemson’s annual hackathon was coming up, so I decided to scrap the arm for now and reuse the servos for our hackathon project.
Even though the project didn’t end the way I expected, it still pushed me in an interesting direction. While building the arm, I found myself becoming more interested in the research side of robotics.
I reached out to a robotics lab here at Clemson and will be starting work with them soon. Around the same time, I also discovered LeRobot, an open-source robotics framework that lowers the barrier to training models for autonomous robot control.
I’ve recently started assembling the SO101 robot arm, which will likely be the subject of my next post.
What’s Next
I’m not abandoning the custom robot arm project, but for now it’s taking a back seat while I focus on learning more about modern robotics research.
Hopefully the next robot arm stays on my desk.